How to Grow Collard Greens
Brassica oleracea var. acephala

By Efraín Vega · Published November 16, 2026
Sun
Full sun (6–8 hours direct sunlight; tolerates partial shade with 4–5 hours)
Water
Consistent moisture (1–1.5 inches per week; never allow soil to dry completely)
Spacing
18–24 in apart; 30–36 in between rows
Soil pH
6.0–6.8 (ideal 6.5 to prevent clubroot)
Days to maturity
60–75 days from seed (30–40 days for tender baby leaves)
Hardiness zones
Zones 3–11 (grown as cool-season annual; overwinters down to 10°F)
When to plant: Early spring 4 weeks before last frost; late summer 60–80 days before first fall frost • Calculate planting dates for your city →
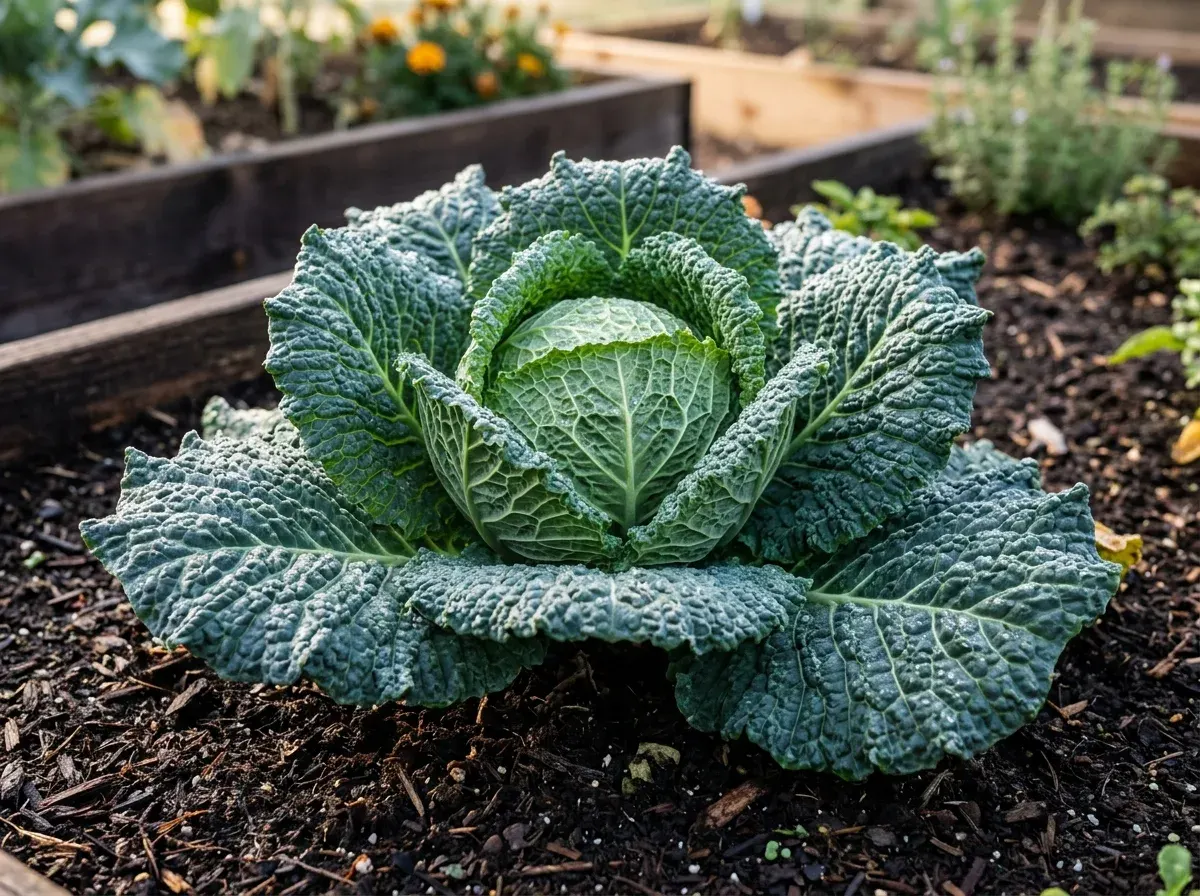
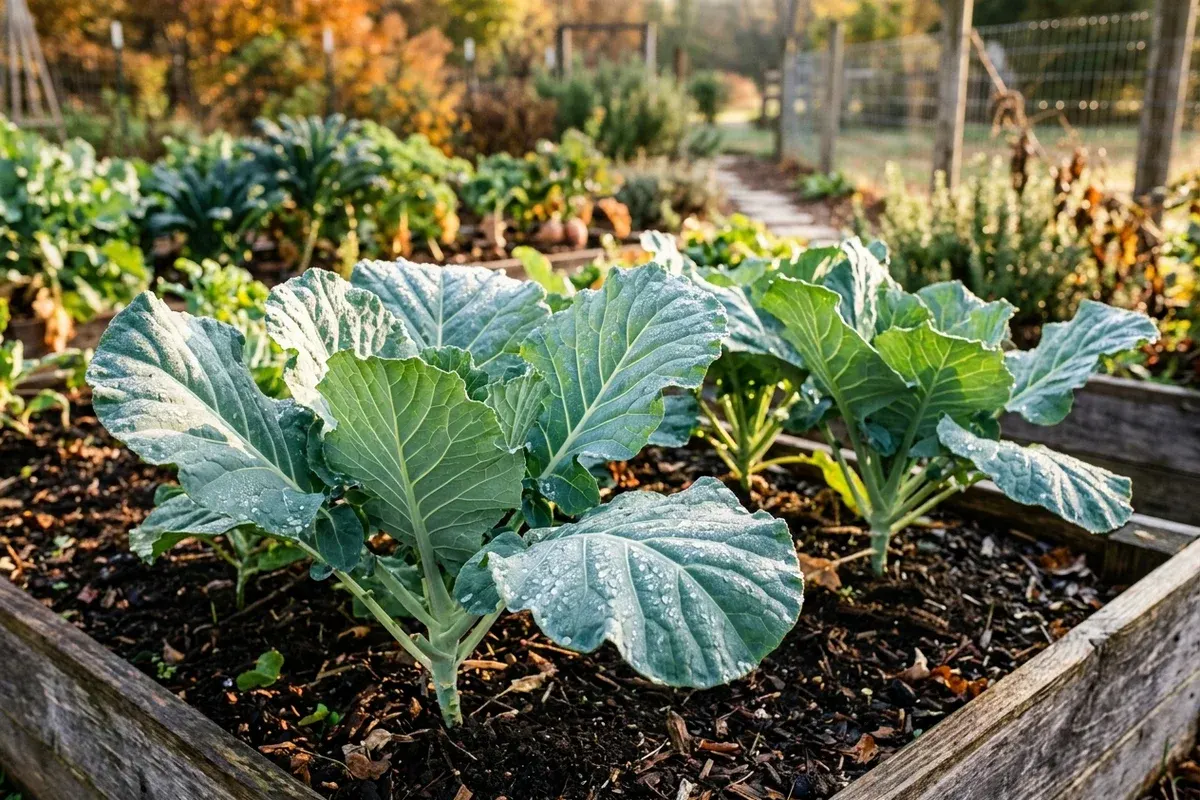
Collard greens (Brassica oleracea var. acephala) are the undisputed monarch of winter greens. Unlike cabbage or Brussels sprouts, collards do not form compact heads; the botanical variety name acephala literally translates from Greek as "without a head." Instead, each plant produces massive, waxy, paddle-shaped leaves that can expand up to 2 feet in diameter on heavy, upright central stalks.
Celebrated across Southern cuisine for pot-liquor braises and hearty stews, collards are also an indispensable homestead survival crop across northern zones because of their extraordinary cold tolerance: an established collard patch will stand strong through sub-freezing temperatures, heavy frost, and moderate snow cover down to 10°F to 15°F.
Best Soil for Collard Greens: pH, Drainage & Nitrogen
As substantial leaf-producing brassicas, collards require a high volume of available nitrogen and consistent soil moisture to keep leaves tender and succulent:
| Soil Factor | Optimal Requirement | Practical Garden Application |
|---|---|---|
| Soil pH Range | 6.0 – 6.8 (Target 6.5) | Maintaining soil pH around 6.5 suppresses the soil-borne fungal spore Plasmodiophora brassicae (clubroot), which flourishes in acid ground. Apply agricultural lime if native soil tests below 6.0. |
| Soil Structure | Moisture-retentive rich loam | Collards have deep taproots reaching 18 to 24 inches down. In clay soils, loosen ground to 12 inches and incorporate coarse compost using our guide on amending clay soils. |
| Organic Matter | 6% – 8% volume | Dig in 2 to 3 inches of well-composted barnyard manure or worm castings prior to transplanting. Calculate your bed needs with our raised bed soil calculator. |
| Nitrogen Feeds | Continuous high nitrogen | Topdress plants every 3 to 4 weeks with fish emulsion, feather meal, or blood meal to fuel broad leaf canopy expansion. |
IDEAL COLLARD GREENS RAISED BED PROFILE
+-------------------------------------------------------------+
| 2" Shredded Leaf or Straw Mulch (Moisture & Weed Barrier)   |
+-------------------------------------------------------------+
| 6"-8" Enriched Topsoil: Loam + 30% Aged Compost + Worm Cast |
+-------------------------------------------------------------+
| 4"-6" Deep Loosened Native Soil (Allows Taproot Penetration)|
+-------------------------------------------------------------+
Planting Calendar & Spacing
Collards can be grown as both a spring and an autumn crop, but fall-grown collards produce vastly superior culinary flavor:
- Spring Planting: Start seeds indoors 6 to 8 weeks before your average last spring frost. Transplant seedlings into the garden 3 to 4 weeks prior to the last freeze. Spring crops must mature before summer heat spikes above 85°F, which triggers premature bolting and tough leaves.
- Fall Planting (Recommended): Direct sow or transplant seedlings 60 to 80 days before your first fall frost. Fall-planted collards grow during cooling weather, escaping peak midsummer insect pressure and maturing during autumn frosts.
Spacing Requirements:
- In-Row Spacing: 18 to 24 inches apart. Cramping collards closer than 18 inches restricts airflow, stunts leaf size, and creates microclimates favored by powdery mildew.
- Between Rows: 30 to 36 inches apart to allow easy walking and basket clearance during harvests.
- Planting Depth: Plant seeds 1/4 to 1/2 inch deep. When setting out transplants, bury the stem right up to the lowest set of true leaves to anchor the central stalk against wind lodging.
The Cold-Shock Biology: Why Frost Makes Collards Sweet
Gardeners often remark that summer-picked collard greens have a pungent, slightly bitter bite, whereas the same variety harvested in November or December tastes sweet and mellow. This is not an illusion—it is a biochemical response to cold stress:
- Osmotic Antifreeze Production: As ambient temperatures drop below 32°F (0°C), ice crystals threaten to rupture cellular plant membranes. In response, collards convert their stored insoluble starches into soluble monosaccharides and disaccharides (glucose, fructose, and sucrose).
- Bitter Glycoside Reduction: Cold temperatures simultaneously suppress the production of glucosinolates (the sulfur-containing chemical compounds responsible for bitter and mustardy tastes).
- The Result: The cell sap becomes a concentrated sugar syrup that lowers the freezing point of the leaf water down to 20°F, creating a sweeter, more tender leaf with buttery culinary quality.
If heavy Arctic cold fronts dip below 10°F, protect your patch with a simple DIY low tunnel hoop house or heavyweight frost fabric to extend harvest through midwinter.
How to Harvest: The "Cut-and-Come-Again" Method
Never clear-cut an entire collard plant unless you are clearing the bed for spring rotation. An individual collard plant can produce dozens of pounds of fresh greens over a single season if harvested correctly:
- Target Mature Outer Leaves: Begin harvesting when plants reach 12 to 15 inches in height. Locate the lowest, largest leaves at the base of the central stalk (8 to 12 inches long).
- The Clean Snap: Grasp the base of the leaf stem close to the main stalk and snap it sharply downward, or slice it with a sterilized pocket knife.
- Preserve the Crown: Always leave at least 6 to 8 healthy upper leaves around the central growing rosette intact. The central bud will continually produce fresh layers of tender leaves upward.
- Stalk Stacking: As you harvest lower leaves, the main stalk elongates, giving the plant a distinctive palm tree appearance. Mulch around the base of the stalk with straw or shredded autumn leaves to stabilize the root zone.
CUT-AND-COME-AGAIN HARVEST TECHNIQUE

             \  ||  /   <-- Upper 6-8 Young Leaves & Central Bud
              \ || /        (DO NOT CUT - Powers Future Growth)
               \||/
             ===++===
                ||
      [CUT] <-- || --> [CUT]  <-- Harvest Bottom Outer Leaves First
     (Snap down at stalk)         (8-12" wide, tender, deep blue-green)
                ||
             ===++===
             /  ||  \
       ~~~~~/~~~||~~~\~~~~~ <-- 2-3" Straw Mulch Barrier
           /   /__\   \
               Root
Companion Planting Pairs & Protections
Pairing collards with strategic companion plants creates a natural barrier against common brassica pests:
- Beneficial Allies:
- Alliums (Garlic, Onions, Shallots): Their pungent sulfur volatiles disguise the brassica scent from the cabbage white butterfly (Pieris rapae) and thrips.
- Aromatic Herbs (Thyme, Rosemary, Dill): Dill attracts beneficial parasitic wasps (Cotesia glomerata) that eliminate hornworms and loopers. Thyme repels cabbage worms.
- Companion Salad Brassicas (Mustard Greens): Intercrop fast-maturing zesty mustard greens between wider collard spacings for continuous cut-and-come-again salads while collard crowns expand.
- French Marigolds: Root exudates suppress root-knot nematodes and above-ground foliage repels aphids.
- Harmful Neighbors to Avoid:
- Nightshades (Tomatoes, Bell Peppers): These heavy nutrient consumers compete for phosphorus and nitrogen, while creating dense foliage that traps humidity.
- Fennel: Releases allelopathic compounds that stunt root and foliage growth in all brassicas.
Pest & Disease Prevention
Because collards remain in the garden across extended seasons, monitor for these common challenges:
1. Imported Cabbageworm & Cabbage Looper
- Symptoms: Ragged, irregular holes chewed through outer leaves, accompanied by dark green frass pellets in leaf axils.
- Treatment: Install lightweight insect netting or floating row covers at transplanting. At the first sign of caterpillars, apply Bacillus thuringiensis (Bt)—a biological bacterium that targets caterpillars without harming honeybees, ladybugs, or earthworms.
2. Harlequin Bugs (Murgantia histrionica)
- Symptoms: Yellow and white stippling marks where shield-shaped black and orange bugs suck sap from leaf tissues.
- Treatment: Hand-pick adults and their barrel-shaped black-and-white striped egg clusters into soapy water. Spray nymph clusters with insecticidal soap or neem oil.
3. Alternaria Leaf Spot & Black Rot
- Prevention: Practice strict 3-year brassica crop rotation. Water beds using ground-level soaker hoses or drip irrigation lines rather than overhead sprinklers to keep foliage dry.
Beneficial Companion Plants for Collard Greens
Plant collard greens near: Onions, Garlic, Thyme, Dill, Marigolds.
FAQ
What causes collard greens to taste sweeter after a frost?
When temperatures dip below 32°F (0°C), collard greens initiate a cold-hardening survival mechanism. The plant breaks down complex starches into simple sugars (glucose, fructose, and sucrose) within its leaf cells. This serves as a biological antifreeze to prevent ice crystal formation, transforming the pungent bitter glycosides into tender, naturally sweetened greens.
How do you harvest collard greens so they keep producing all season?
Use the 'cut-and-come-again' method: harvest only the largest 3 to 5 outer, bottom leaves by snapping or slicing them at the base of the stalk. Always leave the top center growing rosette and central bud completely intact. The plant will continue pushing new foliage from the center for 4 to 6 months.
What is the best soil mix for growing collard greens?
Collards are heavy feeders that thrive in deep, moisture-retentive, well-draining loam packed with aged organic compost (pH 6.2–6.8). Work in 2 to 3 inches of composted cow or chicken manure and a balanced organic fertilizer before planting to supply steady nitrogen.
How cold can collard greens tolerate before dying?
Collard greens are among the hardiest leafy vegetables on Earth, reliably surviving uninjured down to 15°F (-9°C) and even dipping to 10°F (-12°C) under snow cover or inside a simple low tunnel greenhouse.
What companion plants grow best next to collards?
Alliums like onions, garlic, and shallots deter aphids and flea beetles, while aromatic herbs like thyme and dill mask the scent of brassicas from white cabbage butterflies. Avoid planting near nightshades (tomatoes, peppers) or heavy-branching bush beans that crowd and shade them.
How do you protect collards from cabbage worms and loopers?
Install a lightweight 0.5 oz floating row cover immediately at transplanting to block adult cabbage white butterflies from laying eggs. For existing caterpillars, spray organic Bacillus thuringiensis (Bt) or spinosad on leaf undersides in the late afternoon.