How to Clean, Sharpen, and Winterize Garden Tools

By Efraín Vega · Published November 15, 2026
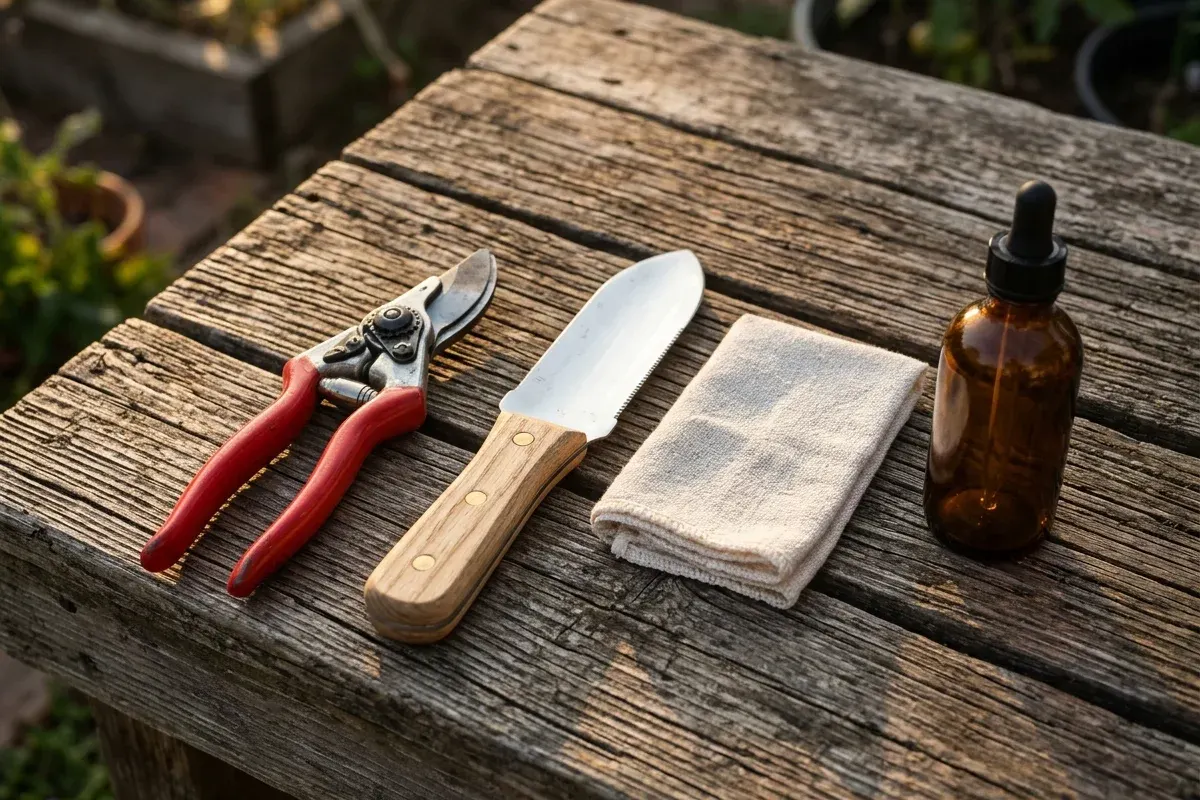
High-quality forged steel garden tools—spades, digging forks, Dutch hoes, and Swiss bypass pruners—are generational investments. When properly maintained, a good ash-handled spade will outlive its owner. Yet every autumn, millions of gardeners leave mud-caked shovels leaning in damp sheds, where moisture corrodes sharp cutting edges into pitted rust and dries wooden handles into splintery hazards.
Winterizing your garden tools takes less than an afternoon. This guide outlines the professional four-step reconditioning sequence: decontaminating and rust removal, sharpening cutting bevels with hand files, polymerizing wooden handles with linseed oil, and setting up a self-cleaning sand bucket.
┌────────────────────────────────────────────────────────┐
│            THE 4-STEP TOOL WINTERIZING WORKFLOW        │
├────────────────────────────────────────────────────────┤
│ 1. SCRAPE & DE-RUST    : Wire brush + 5% white vinegar │
│ 2. RE-EDGE CUTTING LIP : 10" Mill Bastard File (45°)   │
│ 3. NOURISH WOOD HANDLE : Hand-rubbed boiled linseed oil│
│ 4. SUBMERGED STORAGE   : Oily sand bucket (anti-rust)  │
└────────────────────────────────────────────────────────┘
Step 1: Decontaminating, Washing & Rust Stripping
Before sharpening, all caked soil, sap residue, and surface rust must be removed:
- Physical Scraping: Use a flexible steel putty knife or wire grill brush to scrape off dried clods of clay and mud from shovel blades and trowels.
- Wash & Sanitize: Scrub metal blades in warm water mixed with grease-cutting dish soap. If tools were used on diseased nightshades (such as tomatoes afflicted with early blight), wipe blades with a 70% isopropyl alcohol solution or 10% bleach water to sterilize fungal spores.
- The Acetic Acid Rust Bath (For Neglected Tools):
- For heavily rusted carbon steel, soak the metal heads in plain white vinegar for 12 to 18 hours.
- Pull the tools out and scrub with a brass wire brush. The rust wipes off like black soot.
- Crucial Neutralization: Submerge tools immediately in a bath of water mixed with 1/2 cup of baking soda. Failing to neutralize the vinegar causes aggressive flash-rust within 15 minutes of air contact.
- Dry completely with a clean cotton rag or heat gun.
Step 2: Sharpening Spades, Hoes & Bypass Pruners
A dull shovel requires double the physical foot force to slice through turf, while dull pruners crush plant stems, inviting bacterial rot.
┌────────────────────────────────────────────────────────┐
│              DIGGING SPADE SHARPENING GEOMETRY         │
├────────────────────────────────────────────────────────┤
│                 Inside Face (Back of Spade)            │
│                 ═══════════════════════════            │
│                 [Keep Dead Flat! No Bevel]             │
│                                                        │
│                                     /                  │
│                                    /  <- 45° Single    │
│                                   /      Top Bevel     │
│                 ─────────────────/                     │
│                 Outside Face (Soil Scoop Side)         │
└────────────────────────────────────────────────────────┘
Sharpening Spades and Shovels (The 45° Rule)
- The Tool: A 10-inch Mill Bastard File (single-cut).
- The Setup: Clamp the shovel blade securely in a bench vise with the front (dished) face pointing up.
- The Technique:
- Hold the file with both hands at a 45-degree angle against the cutting lip.
- Push the file forward and across the blade in long, steady, smooth strokes, following the curvature of the lip.
- Lift the file on the return stroke (filing backwards dulls file teeth).
- Continue until a bright, clean metal edge is visible across the entire cutting arc.
- Invert the shovel and make one light, flat pass along the back to remove any hanging metal wire burrs.
┌────────────────────────────────────────────────────────┐
│             BYPASS PRUNER SHARPENING GEOMETRY          │
├────────────────────────────────────────────────────────┤
│              Cutting Blade (Top Blade Only!)           │
│                     ┌────────────────                  │
│                     │                                  │
│                     │       /                          │
│                     │      / <- 20° Factory Bevel      │
│                     └─────/                            │
│                           ▲                            │
│    NEVER touch the flat stationary Anvil Hook below!   │
│    Filing the hook creates a gap that chews stems.     │
└────────────────────────────────────────────────────────┘
Sharpening Bypass Pruners & Loppers (The 20° Rule)
- The Tool: A fine-grit diamond sharpening card or pocket slip stone lubricated with honing oil or soapy water.
- Disassembly: For best results, use an adjustable wrench to loosen the pivot bolt and separate the cutting blade from the anvil.
- The Technique:
- Match the factory 20- to 23-degree bevel on the curved cutting blade.
- Stroke the stone from the base of the blade toward the tip in gentle curving motions (15 to 20 strokes).
- Flip the blade over and stroke the completely flat side once or twice strictly parallel to the stone to de-burr the edge.
- Reassemble the pivot bolt, adding a drop of machine oil. Tighten until the blades touch with zero wobble but pivot smoothly.
Step 3: Sanding & Conditioning Wooden Ash Handles
Wooden handles dry out, check (develop lengthwise splits), and splinter when left exposed to weather cycles. Boiled linseed oil polymerizes into the wood fibers, creating a smooth, weather-resistant barrier:
┌────────────────────────────────────────────────────────┐
│             WOODEN HANDLE RESTORATION SEQUENCE         │
├────────────────────────────────────────────────────────┤
│ 1. Sanding        : 80-grit to strip weathered grey    │
│                     silvers; 150-grit to finish smooth │
│ 2. First Coat     : 50/50 mix Boiled Linseed Oil +     │
│                     mineral spirits (deep penetration) │
│ 3. Second Coat    : 100% Boiled Linseed Oil hand-rubbed│
│ 4. Cure Time      : 24 hours; buff with lint-free rag  │
└────────────────────────────────────────────────────────┘
- Sand Down Splinters: Sand the handle using 80-grit sandpaper along the grain to remove loose fibers, rough spots, and weathered grey surface oxidation. Follow with 150-grit paper until the wood feels silky smooth.
- Apply Boiled Linseed Oil: Pour a few tablespoons of boiled linseed oil onto a lint-free cotton rag. Rub the oil vigorously into the wood until the handle refuses to absorb more.
- Wipe Off Excess: After 20 minutes, vigorously buff off all unabsorbed surface oil with a dry cloth. Leaving puddles of oil creates a sticky, gummy varnish that attracts dirt.
- Fire Safety Warning: Rags soaked in linseed oil generate heat as they cure and can spontaneously combust! Always submerge used rags in a bucket of water or lay them flat outdoors on concrete to dry completely before disposal.
Step 4: The 5-Minute Self-Cleaning Oily Sand Bucket
The single most effective tool care hack for the active gardener is the oily sand bucket. Keep this bucket next to your garden shed or cedar potting bench:
┌────────────────────────────────────────────────────────┐
│             THE OILY SAND BUCKET SETUP                 │
├────────────────────────────────────────────────────────┤
│                 5-Gallon Plastic Pail                  │
│   ┌────────────────────────────────────────────────┐   │
│   │                                                │   │
│   │   [Hand Trowel]    [Cultivator]    [Weeder]    │   │
│   │         │               │              │       │   │
│   │   ▒▒▒▒▒▒│▒▒▒▒▒▒▒▒▒▒▒▒▒▒▒│▒▒▒▒▒▒▒▒▒▒▒▒▒▒│▒▒▒▒   │   │
│   │   ▒ Coarse Sand + 1 Quart Mineral Oil ▒▒▒▒▒▒   │   │
│   │   ▒ (Sharp grains scrape soil; oil shields) ▒▒ │   │
│   │   ▒▒▒▒▒▒▒▒▒▒▒▒▒▒▒▒▒▒▒▒▒▒▒▒▒▒▒▒▒▒▒▒▒▒▒▒▒▒▒▒▒▒   │   │
│   └────────────────────────────────────────────────┘   │
└────────────────────────────────────────────────────────┘
- Procure an ordinary 5-gallon bucket.
- Fill the pail 3/4 full with clean, dry coarse sand (such as ASTM C33 concrete sand). Calculate sand volumes with our Sand Calculator.
- Pour in 1 quart of mineral oil (baby oil or food-grade lubricating oil). Avoid vegetable oils (canola, olive, or corn oil), which oxidize, turn sticky, and go rancid.
- Mix thoroughly with an old shovel handle. The sand should hold together loosely when squeezed.
- After every gardening day, plunge your metal trowels, hand cultivators, and spades into the sand three or four times. The sharp sand abrades off wet mud, while the mineral oil leaves an invisible rust-inhibiting seal. Leave hand tools stored upright in the sand all winter!
Frequently Asked Questions
Can I use motor oil instead of mineral oil in the sand bucket?
While motor oil was historically used by old-school farmers, it contains chemical detergents, heavy metals, and hydrocarbons that transfer directly into your organic vegetable beds. Use food-grade mineral oil or biodegradable vegetable-based chainsaw bar oil instead.
How often should garden tools be sharpened?
Digging shovels, hoes, and spades should be given a quick 2-minute touch-up with a mill file every 4 to 6 gardening sessions (or anytime you hit a large stone). Pruners should be honed with a pocket slip stone every 10 hours of active seasonal pruning.
Can I sharpen serrated garden knives or Japanese Horihori knives?
Yes! To sharpen the straight bevel of a Horihori soil knife, use a flat whetstone at a 25-degree angle. For the serrated edge, use a tapered diamond rod or round chainsaw file, filing each serrated tooth individually from the beveled side.
FAQ
What angle should you sharpen garden shovels and spades?
Sharpen digging spades, shovels, and garden hoes at a single 45-degree bevel on the top (facing) side only. Never bevel the back side; keep the back dead flat to maintain scooping and slicing geometry. A 45-degree angle provides an edge durable enough to chop through thick tree roots and rocky soil without chipping or rolling over.
What angle should bypass pruners and loppers be sharpened?
Sharpen the beveled cutting blade of bypass pruners at a 20- to 23-degree single bevel using a medium-grit diamond hone or aluminum oxide whetstone. Stroke only in the direction of the factory bevel. Never file or sharpen the flat stationary anvil hook, which ruins the tight scissor tolerance and causes branches to pinch and chew.
What is the best oil for wooden garden tool handles?
Boiled linseed oil (BLO) or 100% pure tung oil are the premier choices for ash, hickory, and oak tool handles. Unlike mineral oil or vegetable cooking oils (which go rancid or remain sticky), boiled linseed oil polymerizes into a water-resistant, durable satin barrier that nourishes the wood grain, prevents splintering, and repels rain.
How do you make a self-cleaning oily sand bucket for tools?
Fill a 5-gallon plastic bucket three-quarters full with dry, coarse all-purpose sand or concrete sand. Pour in 1 quart of food-grade mineral oil (or clean vegetable-based bar-and-chain oil) and mix thoroughly with a garden stake until the sand feels like damp brown sugar. Plunging trowels and spades into the sand after each garden session scrapes off wet clay and deposits a microscopic anti-rust oil sheen.
How do you remove heavy rust from antique or neglected garden tools?
Submerge rusted steel tool heads in standard 5% household white vinegar for 12 to 24 hours. The acetic acid dissolves iron oxide (rust) into water-soluble iron acetate. Scrub clean with a stiff brass wire brush or #0000 steel wool, then immediately rinse in a baking soda solution (1/2 cup baking soda per gallon of water) to neutralize residual acid before drying and applying oil.